Most Australians have grown up with Golden Gaytimes (and apparently in New Zealand they’re called Cookie Crumbles?), an ice cream on a stick that consists of toffee and vanilla ice-cream coated in milk chocolate then rolled in honeycomb biscuits.”It’s hard to have a Gaytime on your own” has been their tag line ever since the 80’s, which I feel shows that someone in the company had a great sense of humour. The tagline for my ice cream would be “Who would like a Happytime in the mouth?” a la Arrested Development.
A persistent Facebook campaign means that the beloved Golden Gaytimes have been released in tub form. Apparently a lot of people are excited about this development but I had a few questions. Will they add enough chocolate? How will they keep the biscuits crunchy? Will they keep the same BISCUIT TO ICE CREAM RATIO?! I decided to figure out my own version rather than spend the money on a tub and risk disappointment.
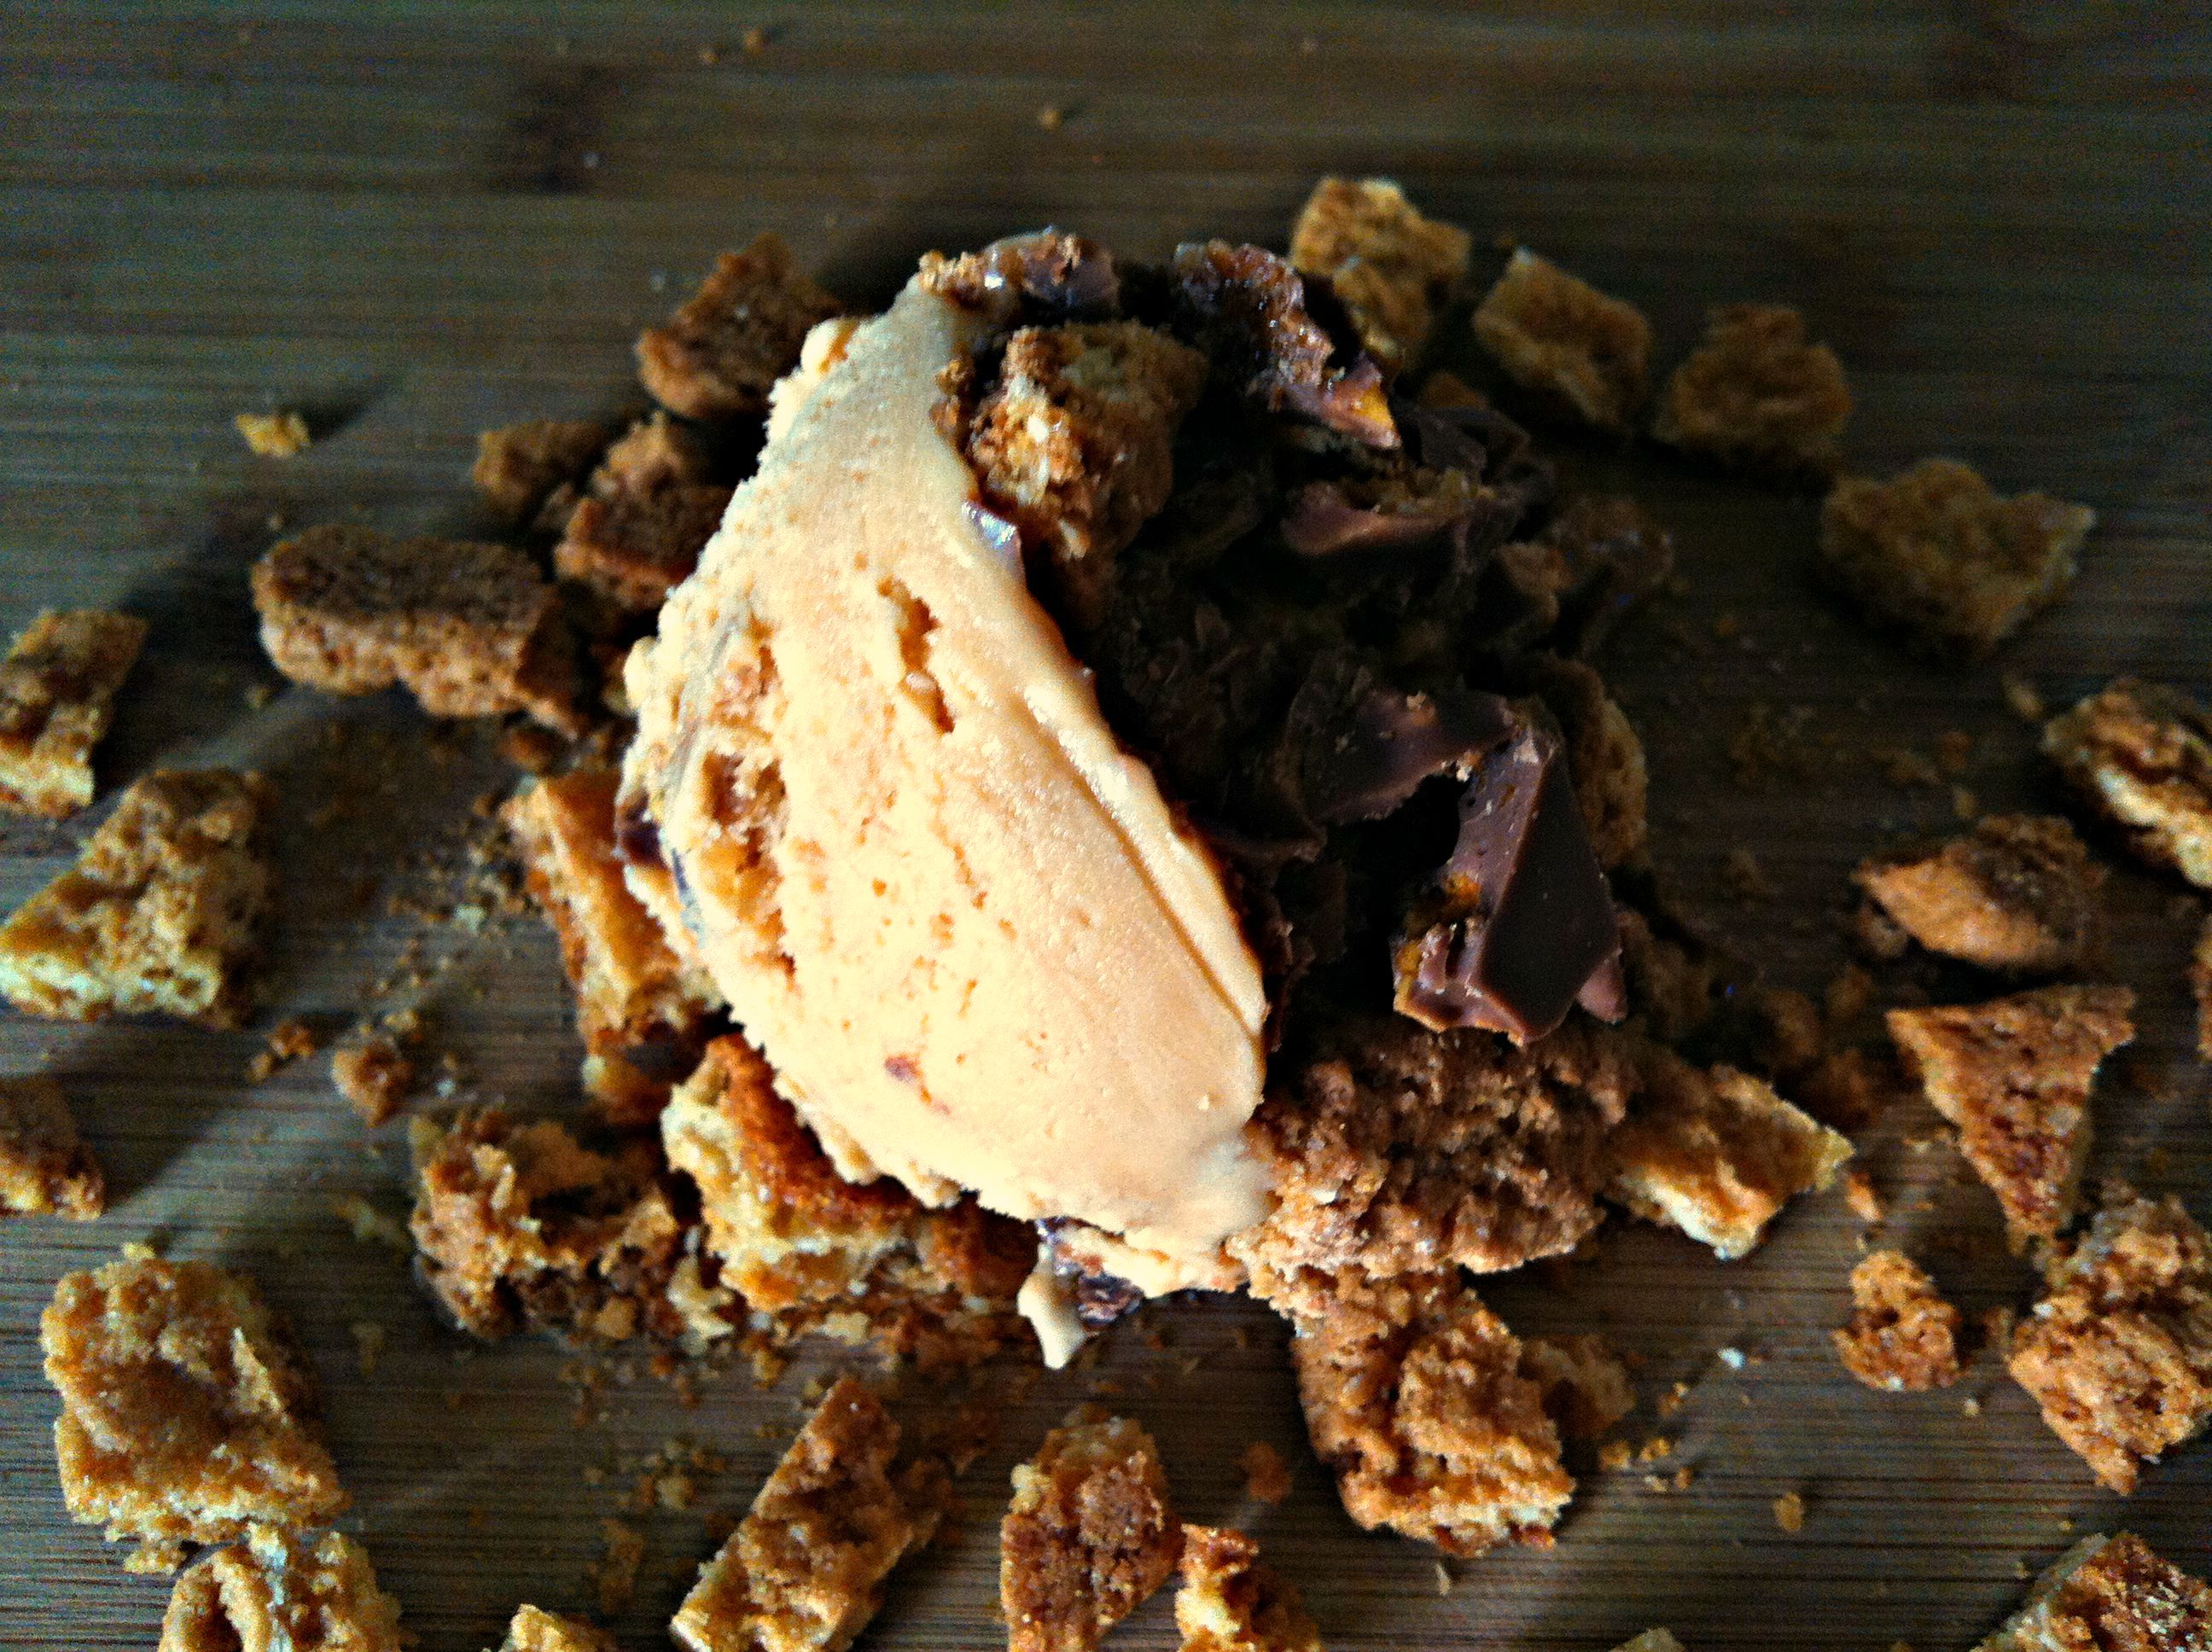
My first big decision was to go with just one type of ice cream flavour. To be honest I didn’t want to wait the time it would take to make two lots of ice cream so I settled on Salted Butter Caramel as my base flay-va. Making caramel is a bit terrifying at first (boiling sugar, what could go wrong?) but practice makes perfect. Just make sure that your spatula is heat proof or you will end up with poisonous and more importantly horrible tasting caramel.
I couldn’t find honeycomb biscuits anywhere so I figured chocolate coated honeycomb plus biscuits would work a treat. You will end up with a whole lotta honeycomb but you will eat half before the ice cream is even churned so don’t even worry yourself about it. The coconut oil in the chocolate helps the chocolate to melt quickly in your mouth, I hate it when you’re still chewing on a piece of chocolate long after the ice cream has melted away.
Space the stages out over a few days and this won’t be as much of a mission as it seems. I made the custard first, got it chilling away then got onto the honeycomb. If your ice cream machine has a tub that needs freezing beforehand get it done ASAP, even before you start the recipe. My freezer bowl has a permanent spot in my freezer but I’m aware that not everyone can cram it in there 24/7. You could always make your own biscuits but I felt it would be a shame to do all that work just to chop them up into little pieces.
Sunshine Happytime (Golden Gaytime) Ice Cream
Chocolate Coated Honeycomb (Adapted from Hokey Pokey over at Nigella.com):
100g caster sugar
4 tbsp golden syrup
1 1/2 tsp bicarbonate of soda
250g milk chocolate
4 tbsp coconut oil
Line a large baking tray with baking paper then spray lightly with oil.
Place the sugar and golden syrup in a medium saucepan, mix together then place over medium heat.
The mixture will melt then start to bubble, allow to bubble without stirring for 3 minutes (if you have a thermometer the temperature should reach 150-154 C or 300-310 F).
Quickly but thoroughly mix in the bicarbonate of soda, the mixture will expand rapidly.
Turn out onto the prepared baking tray and leave to cool completely.
Line a slice tin with baking paper.
In a large microwave-safe bowl place the chocolate and coconut oil, melt gently in the microwave ( I use 80% power and do 30 second bursts).
Using you sharpest knife cut the honeycomb into small pieces (1 cm cubes) and quickly mix into the melted chocolate.
Pour into the prepared slice tin and smooth the mixture down evenly, place in the freezer until set.
Cut the block into small pieces (1cm cubes), store in the freezer until assembling your ice cream.
Ice Cream Base (Adapted from Salted Butter Caramel Ice Cream over at David Lebovitz):
2 cups milk, divided
1 1/2 cups caster sugar
60g salted butter
1/2 tsp sea salt
1 cup thickened cream
5 large egg yolks
1 tsp vanilla extract
8 butternut snap biscuits
Pour 1 cup of the milk into a medium bowl and place a strainer over the top, set aside.
Spread the sugar in a large saucepan over medium heat.
When the sugar starts to melt use a heatproof spatula to gently stir the un-melted sugar near the hot parts of the saucepan.
Stir until all of the sugar has dissolved (don’t worry about some lumps).
Cook at the same heat until the caramel starts to smoke and smell like it’s burning.
Remove from the heat and and whisk in the butter and salt, add the cream once the butter has melted.
Parts of the caramel may harden but put the saucepan back on low heat and stir until all hardened bits have melted.
Stir in the remaining cup of milk.
In a small bowl whisk together the yolks then ladle in some of the warm caramel mixture and keep whisking.
Add this back into the saucepan with the rest of the caramel mixture and cook on low heat, mixing and scraping the bottom of the saucepan constantly with a heatproof spatula.
Cook until the mixture thickens or the temperature reaches 71-77 C (160-170 F).
Pour the mixture through the strainer set over the milk, remove the strainer and stir in the vanilla.
Cover with glad wrap, pressing it onto the surface of the custard to prevent a skin forming.
Chill in the fridge overnight.
Freeze in your ice cream machine according to manufacturer’s instructions.
While your ice cream is churning chop the biscuits into bite-sized pieces, keep in the freezer until you assemble your ice cream.
When the ice cream has finished churning layer it with the chocolate coated honeycomb and biscuits, you will need two 1L containers to fit all the ice cream and mix ins (You will probably have leftover honeycomb, it won’t last long).
Allow to freeze for at least 4 hours if not overnight.